News

How do you connect a Magic Keyboard?

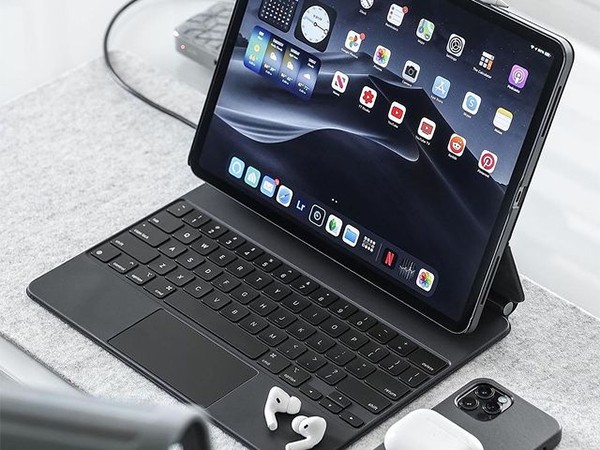
Connecting a Magic Keyboard is relatively simple, and whether you are using an iPad, Mac, or other compatible Apple device, you can easily complete the connection by following the steps below.

First, make sure your Magic Keyboard is fully charged or has batteries installed (for battery-powered models). The battery compartment is usually located on the back of the keyboard, and you can open it by sliding or rotating the battery compartment cover, and then insert the batteries according to the positive and negative polarity instructions. If it is a rechargeable keyboard, make sure it is connected to a power source and fully charged.


Next, turn on your Apple device and make sure it has Bluetooth turned on. For iPad, you can swipe down from the top-right corner of the screen to open the Control Center, and then long-press the Bluetooth icon to see if Bluetooth is turned on. For Mac, you can click the Bluetooth icon in the top-right corner of the screen or check the Bluetooth status through the Bluetooth option in System Preferences.


Now, bring the Magic Keyboard close to your Apple device and make sure there are no excessive obstacles between them. Then, press any key on the keyboard, and your device should detect the keyboard and try to pair. If the device asks for a pairing code, the Magic Keyboard pairing code is usually "0000" (four zeros) or no code is required.


Once the pairing is successful, a message will be displayed on your device screen confirming that the Magic Keyboard is connected. At this point, you can start typing with the keyboard.


Overall, the process of connecting the Magic Keyboard is not complicated. Just make sure your device has Bluetooth turned on, the keyboard has power, and follow the steps above. If you encounter any problems, you can refer to the device's user manual or the support documents on Apple's official website for more help.


Related News
X
We use cookies to offer you a better browsing experience, analyze site traffic and personalize content. By using this site, you agree to our use of cookies. Privacy Policy
Reject Accept